
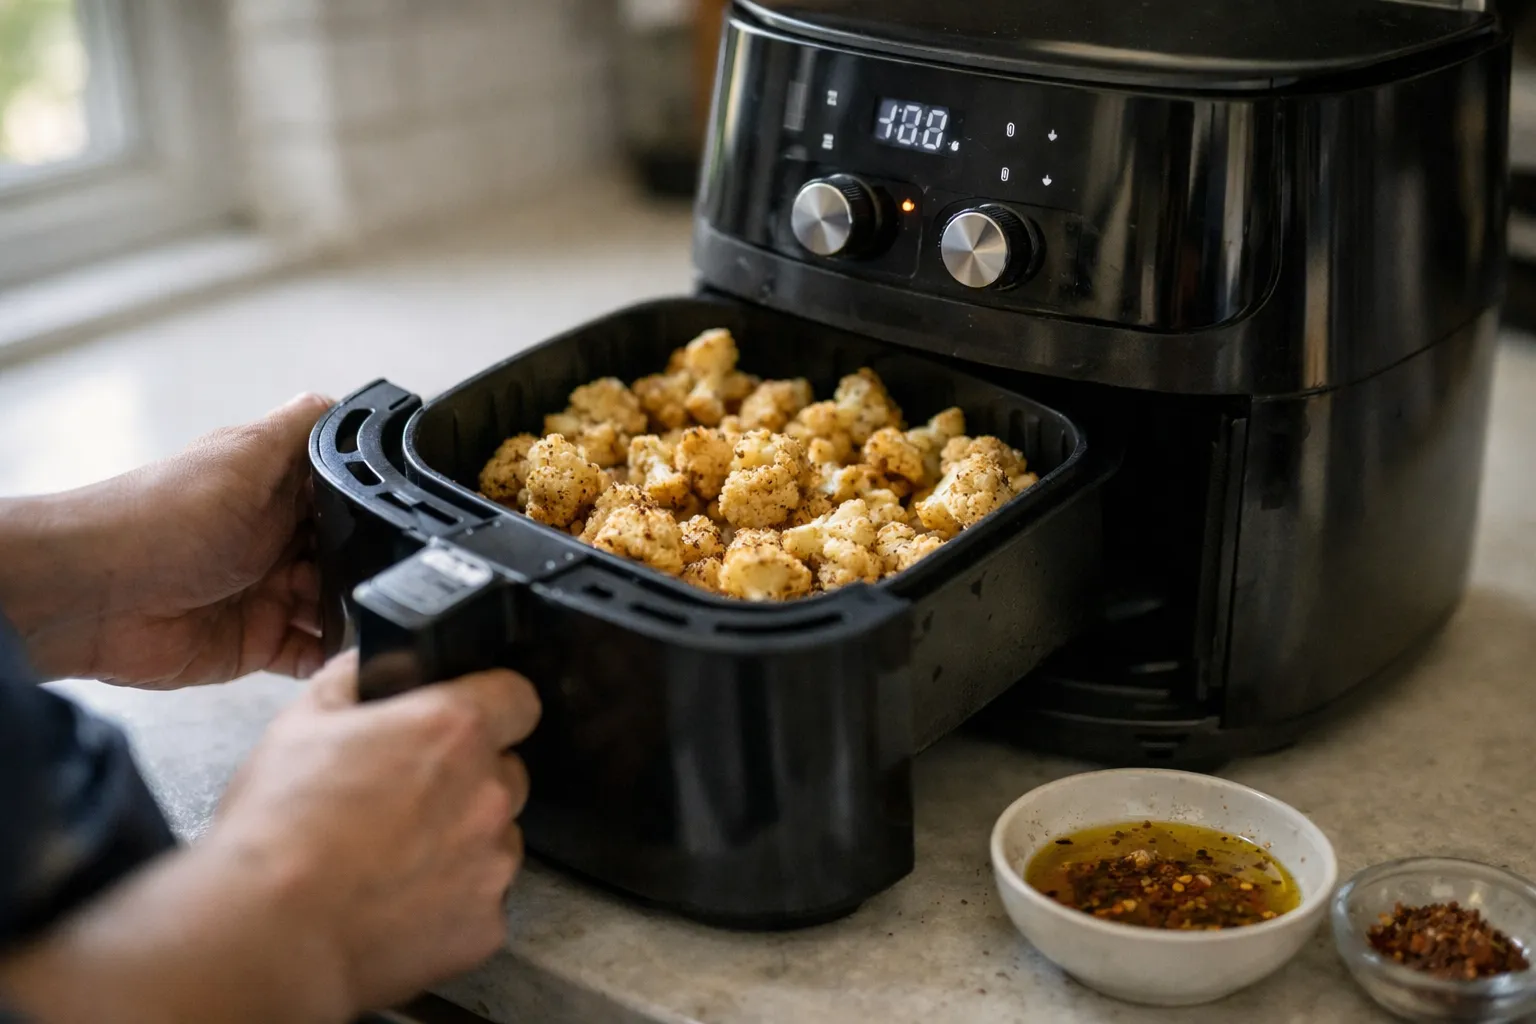
What you'll learn: how to get consistent, restaurant-style crispness from today's air fryers—basket, oven and the newer steam‑air hybrids—while avoiding wasteful mistakes and unnecessary upgrades. This guide is for food enthusiasts who invest limited time and money in kitchen gear and want predictable returns, not marketing hype.
Why this matters in Aug 2026: the air‑fryer market matured fast. Since mid‑2024 we've seen wider adoption of dual‑zone baskets, steam‑air hybrids, integrated cameras and Matter‑compatible smart controls. Some features genuinely improve results; others add cost and complexity without proportional benefits. This update adds 2026‑era best practices, security and energy notes, and templates you can use tonight.
Prerequisites / Context: what you should know before you start
Air fryers are compact convection ovens: a heating element plus a fan that moves hot air rapidly to promote Maillard browning while stripping surface moisture. Your job—as cook and budgeter—is to manage the tradeoff: crisp outside, juicy inside, with predictable timing and minimal wasted food.
- Model and power: basket units typically run ~1,200–1,900W; countertop oven styles commonly 1,400–2,400W. Higher wattage and better ventilation speed up browning, but they also accelerate surface drying. Check your model's label for wattage to calibrate times.
- Smart features and standards: in 2026 more appliances ship with Matter or local‑processing options, improving interoperability with smart home systems. Cameras and cloud AI presets have appeared on premium units—useful but privacy and durability factors to weigh.
- Coatings and durability: brands continue to advertise PFAS‑free coatings; ceramic‑style coatings proliferated but vary in abrasion resistance. If longevity matters, stainless racks and replaceable baskets are a better long‑term ROI than never‑ending "nonstick" claims.
- Food safety: USDA internal temp guidance still applies: poultry 165°F (74°C). Use a probe or instant‑read thermometer—presets do not guarantee safe internal temps.
Step 1: Preheat strategically (and when you can skip it)
Preheating buys predictability. Newer high‑watt units can reach operating temps faster, but a short preheat still improves browning and reduces sticking for most breaded or frozen foods.
- Preheat 2–4 minutes for most basket units; 3–6 minutes for oven‑style units or heavier loads. High‑wattage compact models may need only 90–120 seconds.
- Skip preheating for reheating slices, delicate fish or foods that burn at the surface before heating through.
- Calibrate quickly: do a "bread test": a slice of bread in an empty basket for 60–90 seconds will show how aggressively your unit browns.
Why it works: a hot chamber jumpstarts surface evaporation and Maillard reactions—essential for crispness. That predictability saves time and avoids overcooking interiors, reducing food waste.
Step 2: Choose the right temperature (an updated 4‑setting map for Aug 2026)
Temperatures are starting points. Many 2025–26 models report an effective surface temperature slightly higher than the dial indicates due to intense airflow. Treat published temps as a baseline and learn your unit's bias.
- 300–325°F (150–165°C): delicate fish, thick fillets, slow finishing to avoid exterior darkening.
- 350–375°F (175–190°C): the everyday zone—vegetables, tofu, most breaded items and frozen foods.
- 380–400°F (193–205°C): fast browning for fries, wings, thin cutlets—watch sugar content closely.
- 425°F+ (220°C+): reserved for finishes. Many baskets' coatings and sealants aren't rated for repeated 425°F cycles—use sparingly and watch for smoke.
Why it works: higher heat shortens browning time but dries interiors faster; moderate heat often yields better texture for thicker pieces.
Step 3: Manage moisture and oil (the crispness equation)
Crispness comes from surface dryness plus a thin fat film that promotes browning. "No‑oil" marketing is real but often compromises color and mouthfeel.
- Dry thoroughly: pat proteins and vegetables dry. For watery veg (zucchini, mushrooms), salt lightly, rest 10 minutes and blot.
- Use measured oil: roughly 1 teaspoon per portion or 1–2 teaspoons per pound of chopped veg/proteins is sufficient in most cases. Use refined oils with higher smoke points (avocado, refined canola) above 375°F.
- Apply oil evenly: toss in a bowl or use a refillable pump/atomizer—avoid aerosols and overapplying oil. Many third‑party oil sprayers now offer calibrated pumps that lower waste and cost per use.
- Starch trick: for wings or nuggets, a light toss in cornstarch or tapioca starch (or a 50:50 mix with panko) helps form a crisp crust without deep frying.
- Steam‑air hybrids: use a short steam phase (2–4 minutes) for lean proteins or root vegetables to protect interiors, then finish with high dry heat to crisp. The hybrid's best ROI is for reheating and baking where moisture retention matters.
Why it works: small, even oil amounts facilitate browning without pooling; starches create a brittle surface that resists sogginess.
Step 4: Don’t crowd the basket—batch smartly
Air flow is the core mechanism. Overloading converts convection into slow steaming.
- Single layer preferred: spacing between pieces yields the best crispness.
- Stagger batches: for a family meal, two well‑timed batches produce better texture than one overloaded run and often consume similar total energy.
- Hold finishes: keep finished batches on a wire rack in a low oven (200°F/95°C) for up to 10–15 minutes to preserve crispness. Alternatively, re‑crisp 1–2 minutes at high heat just before serving.
Why it works: adequate airflow ensures even drying and browning; crowding increases cooking time and waste when items are underdone or overdone.
Step 5: Timing framework you can trust (and why to distrust presets)
Presets are convenient but cannot account for load size, starting temperature, or coating. Rely on visual cues and thermometers while you build a short log of successful times for your unit.
- Frozen fries/tots: 380–400°F (193–205°C), 12–18 minutes; shake 2–3 times depending on cut and fill.
- Chicken wings (raw): 375–380°F (190–193°C) for 18–22 minutes, then 400°F for 3–6 minutes to crisp.
- Boneless chicken breast: 360–375°F (182–190°C), 10–16 minutes depending on thickness; pull at ~160°F and rest to finish at 165°F.
- Salmon fillet: 350–375°F (175–190°C), 7–12 minutes; lower temps reduce albumin weep.
- Broccoli/cauliflower: 375–390°F (190–200°C), 8–14 minutes; toss once and finish with acid and cheese.
Why it works: start conservative, check early, read internal temps. Presets are a baseline, not a promise.
Step 6: Convert oven recipes reliably (repeatable conversion)
Air fryers move air faster than standard ovens. Use a repeatable conversion to avoid wasted trials.
-
1. Reduce oven temp by 25°F (≈15°C).
2. Check at 50–70% of the oven time. Example: a 25‑minute oven roast at 425°F becomes ~400°F for 12–16 minutes in a basket air fryer; flip or shake once.
3. Cut pieces smaller and uniform for faster, even cooking.
4. Use racks or perforated trays to maximize airflow underneath food when the accessory set supports it.
Why it works: greater convection increases effective heat transfer; reducing temp and checking early prevents overcooking.
Step 7: Three reliable templates for signature results (including steam‑air)
Template A: Crispy frozen foods
- Preheat to 380–390°F (193–200°C).
- Add frozen items in a single layer—don’t thaw.
- Cook until nearly done, then finish 2–4 minutes at 400°F for color and texture.
- Salt immediately after cooking to help it adhere.
Example: Frozen breaded fish: 375°F for most of the time, 400°F for 2–3 minutes at the end for a crisp crust without drying the interior.
Template B: Vegetables with real browning
- Cut to even size; dry thoroughly.
- Toss with 1–2 tsp oil per pound, salt and one aromatic spice.
- Air fry at 375–390°F (190–200°C), shake or turn once.
- Finish with acid and a finishing fat (olive oil, grated cheese).
Example: Brussels sprouts: halve, oil + salt, 390°F for 10–14 minutes; finish with balsamic and toasted almonds.
Template C: Juicy proteins, crisp exterior (with steam‑air option)
- Season ahead (15–60 minutes) when possible; salt helps flavor and texture.
- For steam‑air models: run 2–4 minutes steam at 320–340°F to reduce surface drying, then switch to dry convection at 380–400°F to crisp for 2–5 minutes.
- For standard units: cook at 360–375°F until near target internal temp; finish at 400°F for 2–5 minutes.
- Rest before slicing; carryover raises center temp a few degrees.
Example: Pork medallions: steam‑air model—2 minutes steam at 330°F, then 375°F dry until 140°F, finish 2–3 minutes at 400°F; rest to 145–150°F.
Common mistakes (and how to fix them)
- Crowding the basket: Fix—cook in batches or use the oven; it's a time‑versus‑quality trade‑off. For weekly meal prep, plan batches so reheating is quick and preserves texture.
- Using wet tempura batters: Fix—air fryers favor dry breadings or par‑frying for wet batters. Use a light tempura only when shallow‑fried first.
- Blind trust in smart presets: Fix—use them as a starting point. Log adjustments and verify internal temps with a probe.
- Applying sugary sauces too early: Fix—add honey‑ or sugar‑based sauces in the final 2–4 minutes to avoid burning.
- Neglecting maintenance: Fix—clean baskets, trays, and heating elements regularly. Grease buildup increases smoke and reduces life span; dishwasher use may shorten coating life.
- Buying features you won’t use: Fix—compare cost vs. real use. A $300+ smart unit with camera and app features may not return its cost for an occasional user. Midrange basket units plus a $40 probe often deliver the best ROI.
Pro tips (what experienced users do)
- Buy a probe thermometer: Wired probes that work with your unit or a fast Bluetooth probe are the single biggest upgrade for repeatable, safe results.
- Log your wins: keep a short note of adjusted times for common items. A one‑page reference saves wasted meals and eliminates guesswork.
- Use a small infrared thermometer: measure surface temps to learn how aggressively your unit browns—useful for converting recipes and assessing preheat.
- Firmware and privacy: if your unit has a camera or cloud features, check firmware updates and privacy settings. Disable cloud uploads if you don’t use them; prefer local‑processing modes where available.
- Consider lifetime cost: compare upfront price to expected frequency of use. If you cook small batches several times a week, an air fryer will likely pay back energy and time savings versus heating a full oven.
FAQ
Do I need oil in an air fryer?
Usually yes—but far less than pan or deep frying. A thin, even coating (roughly 1–2 teaspoons per pound of food) improves browning and prevents a dry, powdery finish. You can reduce oil for some vegetables and lean fish, but expect trade‑offs in color and mouthfeel.
Are camera and cloud features worth the extra money?
They can add convenience—automatic color detection, remote monitoring and suggested presets—but they add cost and raise privacy and obsolescence concerns. For most users, a midrange unit plus a probe thermometer offers better long‑term ROI. If you cook multiple dishes simultaneously or value remote monitoring, choose models with local processing and clear firmware‑update commitments.
Why does my air fryer smoke at high temps and how do I stop it?
Smoke usually comes from pooled oil, fatty drippings, sticky marinades or accumulated grease. Trim excess fat, use a drip tray for fatty items, avoid excess oil, and clean the heating element and basket regularly. For high‑sugar sauces, apply in the last few minutes.
Is an air fryer more energy efficient than a conventional oven?
For small batches, yes—air fryers typically heat faster and use less total energy than a full‑size oven. The efficiency gain narrows for large or continuous cook jobs. Consider how often you'll use the appliance for small, fast jobs before paying a premium price.
How can I tell if a coating is PFAS‑free or durable?
Check manufacturer specifications and look for explicit PFAS/PFOA‑free labeling. Prefer models with stainless‑steel racks or replaceable baskets if coating durability is a priority. Independent lab tests and consumer reviews that track wear over 12+ months are useful—avoid marketing claims alone.
Sources and testing notes: USDA safe internal temperatures; manufacturer wattage ranges and product trends through mid‑2026; Matter smart‑home adoption in kitchen appliances; common energy and usage patterns reported by appliance testers and consumer reviewers. Where possible, verify with a thermometer and treat marketing claims skeptically—your time and food budget deserve reliable results.